 English
  Русский
  中文 EN EN
All Private Cloud VPS instances are located behind NAT, meaning they don't have a dedicated IP address. Instead, the server is assigned a unique local IP address1, unlike public IPs offered in other plans. Below is an example of such a virtual server's page:

Right after the order is placed, a port forwarding2 rule for SSH (TCP 22) is automatically created. NAT makes network setup simple — you only specify the port you want to access, and in return, you receive a public port and IP address accessible from the internet.
Here’s how it works:

NAT stands for Network Address Translation. When traffic is sent to the shared public address, our system checks for a port forwarding rule, finds the matching entry2, and redirects the traffic accordingly.
For example, to connect to your server via SSH, you need to specify the port (10001 is from the example
table above and may vary) and the shared IP:
ssh -p 10001 root@23.189.104.254
In all other respects, the network works just like a public one.
Since public ports 80 or 443 can't be directly used on a Private Cloud plan, you can use Nginx Proxy Manager to host a small website.
First, link your domain to the shared public IP address. If your assigned public IP from the port table is
23.189.104.254, add the following DNS record in your provider's control panel:
A @ 23.189.104.254
The "@" symbol means the root domain is being linked. To link all subdomains as well, add this additional record:
A * 23.189.104.254
DNS provider may be your domain registrar or any CDN like CloudFlare. Adding a DNS record can take from 5 minutes to 24 hours, depending on the provider. To check if your domain is linked, simply open it in your browser. If you see Rifty’s informational page about connecting to Nginx Proxy Manager, your domain has been successfully linked.
Next, open Nginx Proxy Manager from your service page in the Rifty dashboard. Its interface looks like this:
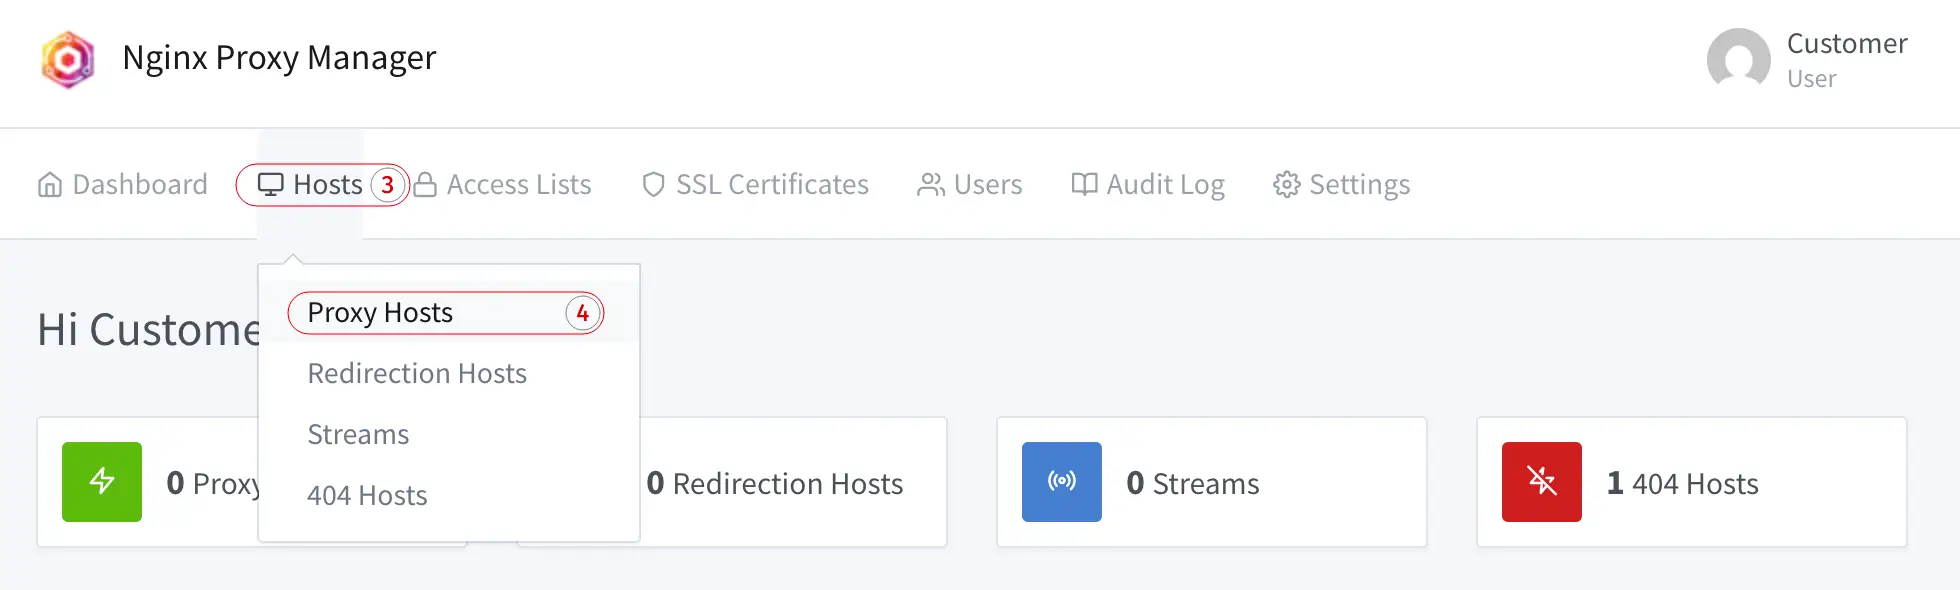
To specify where to direct the domain’s traffic, go to Hosts3, then Proxy Hosts4, and on the next page click Add Proxy Host. A modal window will appear where you need to enter the domain and the local IP address of the VM1.
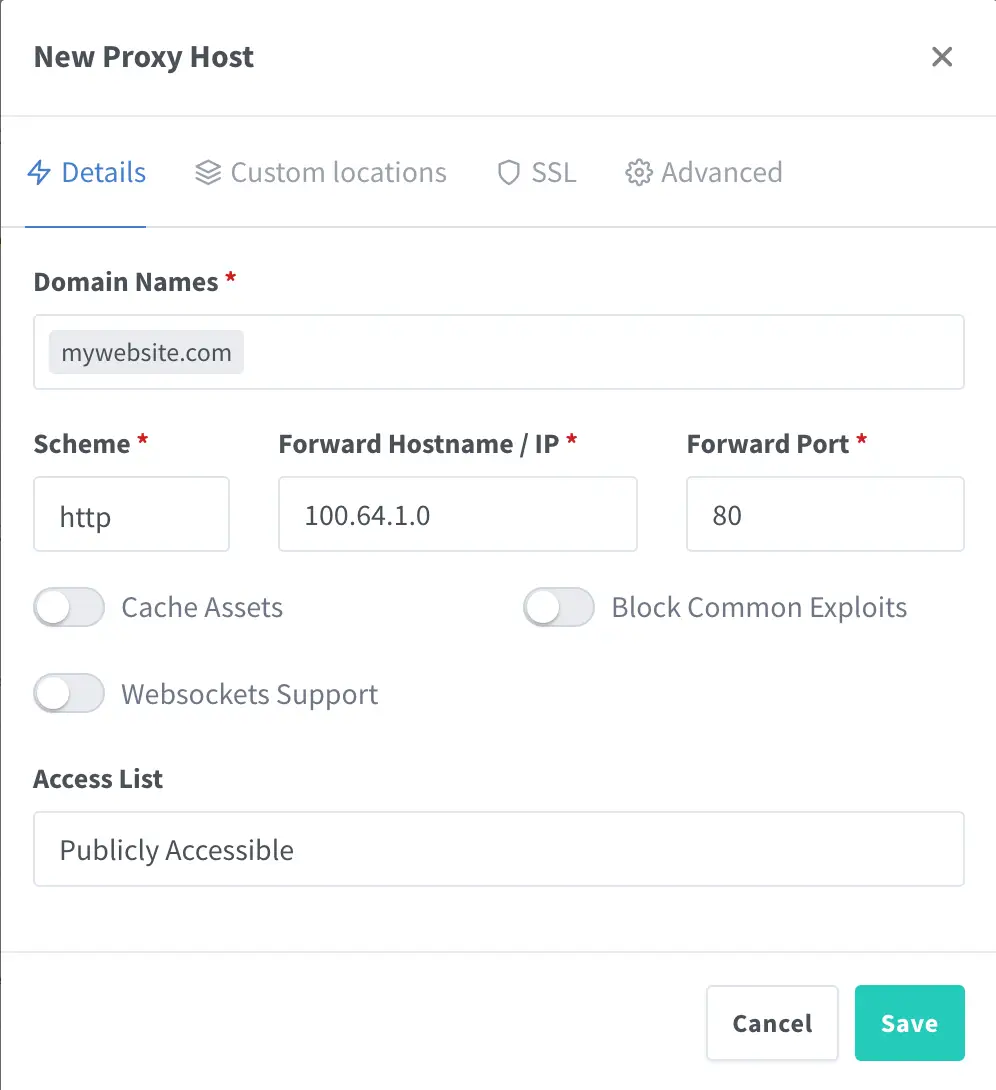

To avoid manually issuing an SSL certificate, you can go to the SSL tab and select Let's Encrypt certificate issuance. This is free and allows your server to serve HTTP while clients access it via secure HTTPS.
Additionally, if your web server runs on a non-standard port (not 80), you can specify it directly without creating a forwarding rule. For example, front-end and back-end frameworks often use ports like 4200, 5173, or 8080, while HTTP servers like Apache or Nginx typically use port 80.
Once the host (domain proxy rule) is added and the domain is successfully linked, your website will be immediately available.